
If you’re a creative just starting your business journey, chances are you’ve heard that email marketing is a must. But it can feel overwhelming, especially when tools like Kit mention things like automations, sequences, and triggers.
Good news: setting up your first automation doesn’t have to be complicated or time-consuming. In this guide, you’ll learn how to create your first Kit (formerly known as ConvertKit) automation in under 30 minutes, even if you’re starting from scratch.
Why Use Kit Automations?
Before we dive in, here’s why automations matter:
- Save time: Set things up once and let ConvertKit handle the rest.
- Stay connected: Welcome new subscribers without lifting a finger.
- Grow your business: Automations can guide people from curious followers to loyal customers.
What You’ll Need Before You Start
To follow this tutorial, you’ll need:
- A Kit account (free or paid)
- An idea of what you want the automation to do (e.g., welcome new subscribers)
- A little time and a cup of coffee (optional but recommended!)
Step 1: Create a Form or Landing Page
Every automation needs a starting point, usually a form or landing page where someone joins your email list.
To create one:
- Log in to ConvertKit.
- Go to the “Grow” tab and click Landing Pages & Forms.
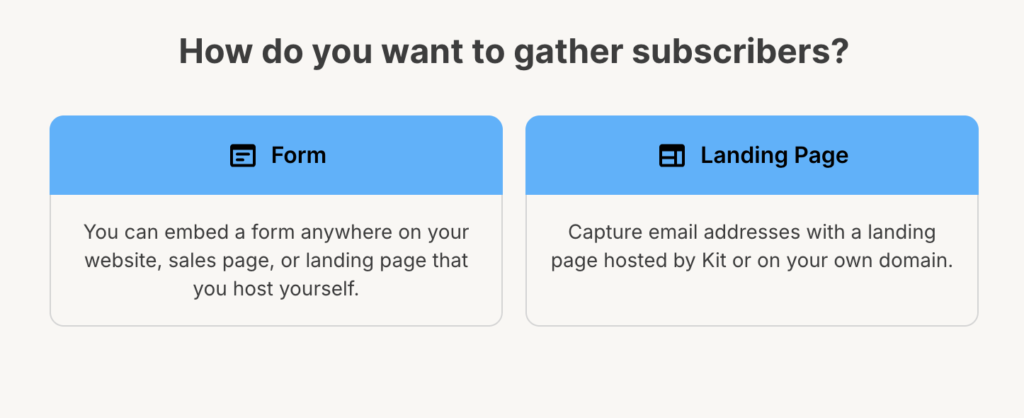
- Click + Create New, then choose Form or Landing Page.
- Pick a template and customize it (add a headline, image, etc.).
- Save and publish.
Tip: Make sure your form is connected to a tag or sequence so you can automate what happens next.
Step 2: Plan Your Automation
Think of your automation as a flowchart: “If someone signs up here, then do this.”
For beginners, a great place to start is a Welcome Email Series that introduces who you are and how you can help.
Simple automation idea:
- Trigger: Someone subscribes through your form
- Action: Send a 3-part welcome email sequence
Step 3: Set Up the Automation in Kit
Now it’s time to build your first automation!
- Go to the “Automate” tab and click Visual Automations.
- Click + New Automation.
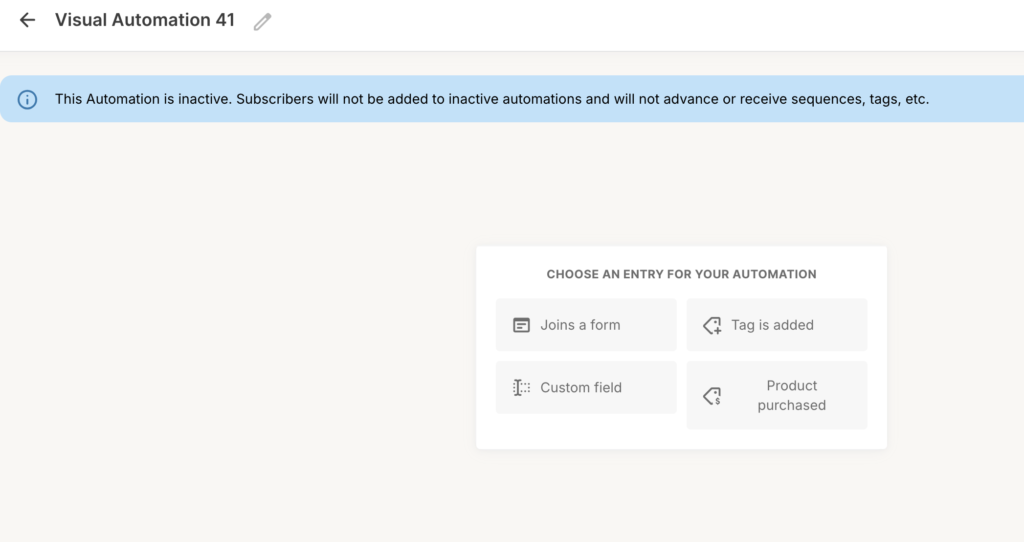
- Choose Create Automation from scratch.
- Set the Trigger (e.g., “Joins a form” and select the one you just created).
- Click the + icon to add an Action or Condition.
- Select Email Sequence (if you’ve created one) or Add Tag if you want to organize subscribers.
Haven’t written your sequence yet? You can create it right inside the automation editor.
Step 4: Write Your Welcome Sequence (Optional but Recommended)
A simple 3-email welcome sequence might look like this:
- Email 1: Welcome + quick intro + what to expect
- Email 2: Share your story or how you can help
- Email 3: Offer a freebie, ask a question, or invite them to follow you elsewhere
Keep each email friendly and focused. You’re building trust, not selling hard.
Step 5: Turn It On and Test It
Once everything is set:
- Review your automation for typos or missing steps.
- Toggle the automation from Paused to Live.
- Test it! Sign up through your form and see what happens.
Pro tip: Testing helps catch any broken links or missing emails before your audience sees them.
Automations can feel intimidating, but ConvertKit makes it beginner-friendly. By setting up a simple automation like a welcome sequence, you’re creating a warm, consistent experience for your subscribers from the start.
And once you’ve got one automation running? You’ll be ready to explore more advanced workflows that save you time and grow your creative business.
Ready to try it? Set your timer, log in to Kit, and give it a go. In less than 30 minutes, your email list could be working for you, even while you sleep.
